
Summary
This is part one of a series aimed at getting you going with Terraform in a vSphere environment. The series will assume you understand the concepts of IaC and Terraform, at a basic level. We will start by getting setup with Terraform, creating a basic definition to create a virtual datacenter, generate a plan, apply the plan and finally destroy the infrastructure.
Environment Setup
To follow along with this series, you will need to have the following already setup and configured.
- A Windows machine (Windows 10, or Windows Server 2016 or up)
- A vSphere environment. For this initial series you will need to have a vCenter server setup.
- A text editor. I would recommend utilising Visual Studio Code.
Obtain Terraform
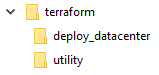
Create the basic folder structure for this series
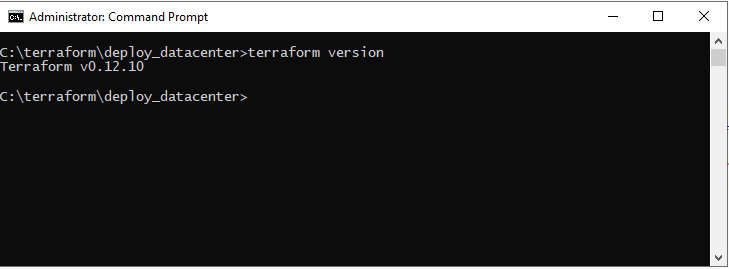
Terraform can be downloaded and installed on to one of six supported operating systems. For this series, I will be downloading and using the Windows x64 version. From the provided link, download the Windows x64 version. I would recommend creating a folder structure as shown. Extract the terraform.exe file from the zip file and place in the utility folder. Next, add the path to the \terraform\utility folder to your path environment variable. This way you will be able to call the terraform.exe from anywhere on your system. Open a command prompt and navigate into the deploy_datacenter folder. Type terraform version and hit enter. You should have terraform reply back and tell you the version you are running. If you get an error about terraform not being found, check your path statement entry for errors.
Creating Stub Files
The next step is to create some stub files. We will create the following files, then edit each one in turn to provide connection details, credentials and our infrastructure (defined in code).
| file | description |
|---|---|
| main.tf | This file will contain the IaC definition that will be used to plan, deploy and destroy our datacenter |
| variables.tf | This file contains variables, used by our main.tf file |
| provider.tf | The provider file contains a definition of the information required to connect to our vCenter server instance |
| provider_variables.tf | This file contains the information to be used by the provider.tf to successfully connect |
Once you have created the files, let’s start by editing our provider.tf file. The provider.tf file is going to define the provider type we wish to use, along with the information that it requires. You may be wondering where we are going to find this information out from. It just so happens that the documentation Terraform provides is very detailed and everything we need to know can be found here. Scrolling down towards the bottom of the page we can see what required entries there are. It wont be of any suprise to see that we need to provide the vSphere server address, a user with access rights and the password for the user.
Open the file up in Visual Studio Code and copy the entries and layout as shown in the screenshot below.

The provider.tf file
The first line in the file will tell Terraform which provider it needs to download and push our requirements through. The user, password and vsphere_server entries will obviously take in the our connection information. Each of the values (to the right of the equals sign) have a prefix of var. This indicates to Terraform that we will be passing in the values through the use of variables. We can either do on this command line of through another file. We will use a file to pass our values in. Save the file and open the provider_variables.tf file for editing.
As you can see in the below screenshot, the provider_variables.tf file declares variables. The name of each variable is encapsulated in quotes and its’ name is the same as that declared after the var. statement in our provider.tf file. We can supply a default value and a description if we wish. By setting a default value, if we choose to not supply an alternative value at the command line, we will use the value stipulated here. I have set the vCenter FQDN, username and password as well as specifying that unverified SSL certificates will be allowed.
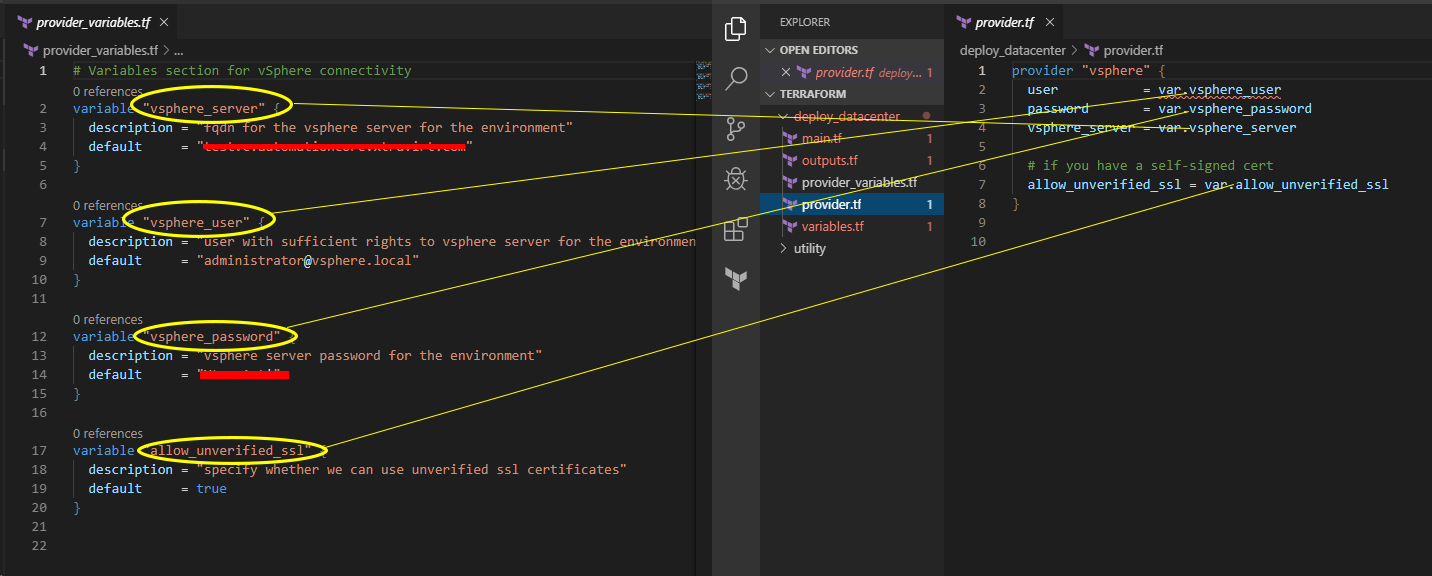
provider_variables.tf and provider.tf files
Once I have done this, I save the provider.tf file. Open the main.tf file next. This file tells Terraform what object we are going to manipulate (either create, amend or destroy). In our case, having looked at the Terraform vSphere provider documentation, we are going to specify a ‘vsphere_datacenter‘ resource to create. The ‘dc‘ parameter assigns it a reference name that we can use throughout our file to reference the object. The vsphere_datacenter object has single required parameter, name. We have specified our datacenter name here, by referring to another variable, called datacenter. We haven’t created this yet. We will do that next.
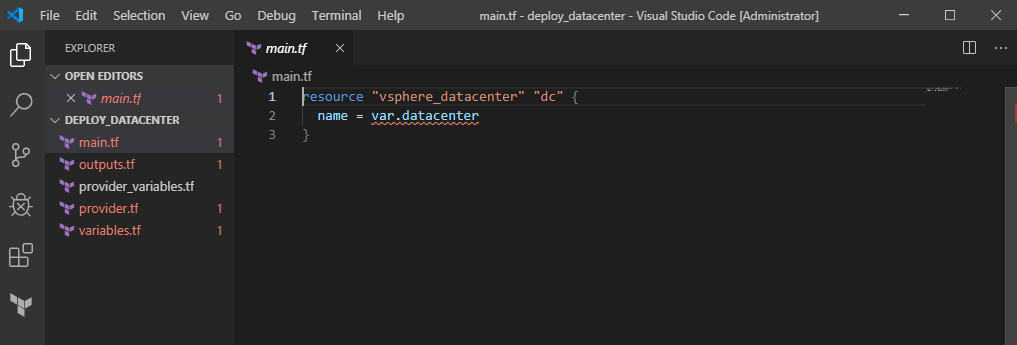
The main.tf file
Open the variables.tf file. We will use this file to describe the value we wish to pass into the main.tf file; which in this case is the name of our datacenter. We create a variable called datacenter which will match to the var.datacenter entry in our main.tf file. We specify a description to help people understand what it is for and set the type. By setting the type we ensure we can only pass in the a value of the correct type. Notice we haven’t set a default value since we want to specify the value each time we execute the plan. Once you have entered the data into the file, save and close.
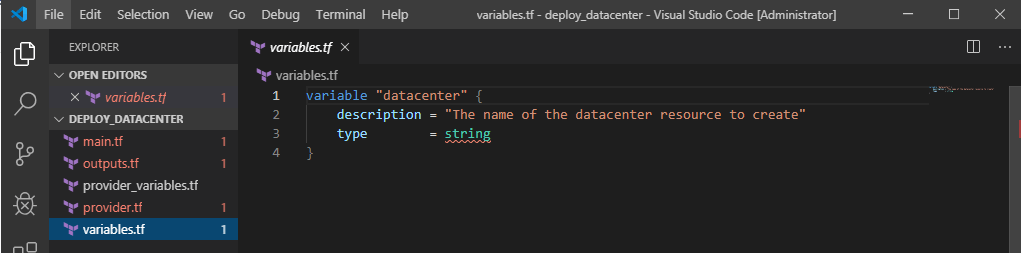
The variables.tf file
We now have our required files all defined. The next step will be to initialise the Terraform folder (download the required plugins) and then generate a plan to check the changes we will make. We can then create our datacenter object. We will do this in part two of this series.