
Summary
In this blog post we will look at configuring Terraform Cloud to remotely host our Terraform state file. Terraform cloud has multiple levels of subscriptions available. The good news is, we only need the free one! This post assumes that you have some Terraform config already setup. I will be used the results of a previous three part blog post, entitled Terraform and vSphere.
Note: For the sake of simplicity, I have ensured that the infrastructure defined in my Terraform setup does not exist in my vSphere environment. I have also ensured all state files have been deleted.
Register An Account
First off we will need to create an account on the Terraform Cloud portal. Fill in the details for a new account and click Create account.
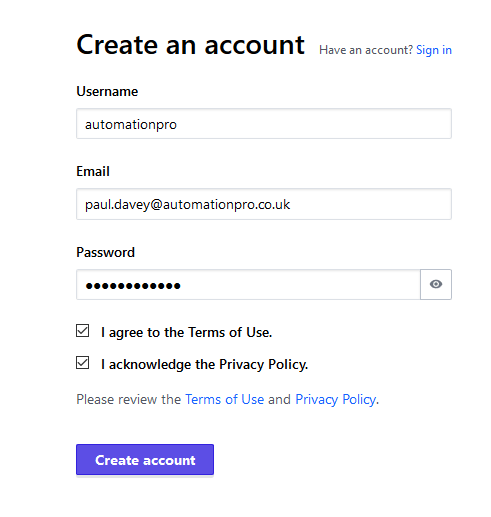
Register your account
Next, select the option to Create an Organization.
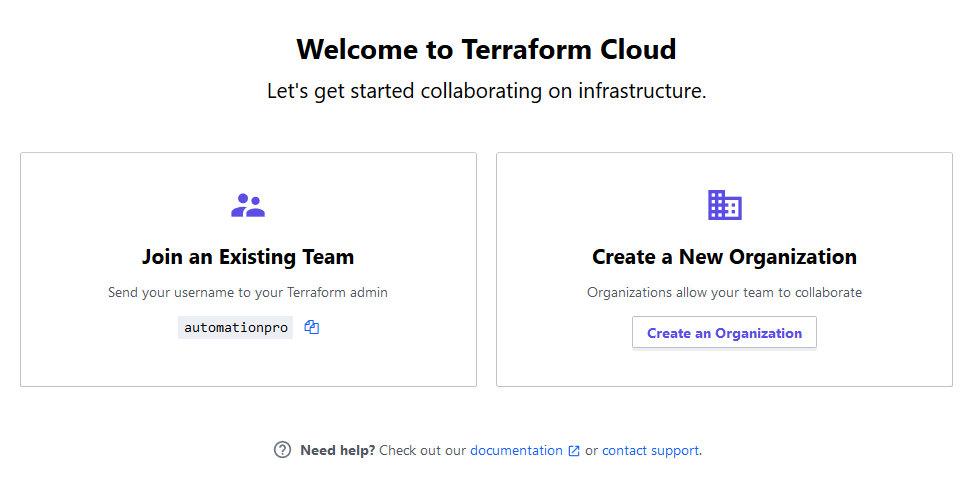
Create a new organisation
Specify a name for your organisation (note it must be unique to Terraform Cloud). Specify an email address for future correspondance to go to. Click Create organization.
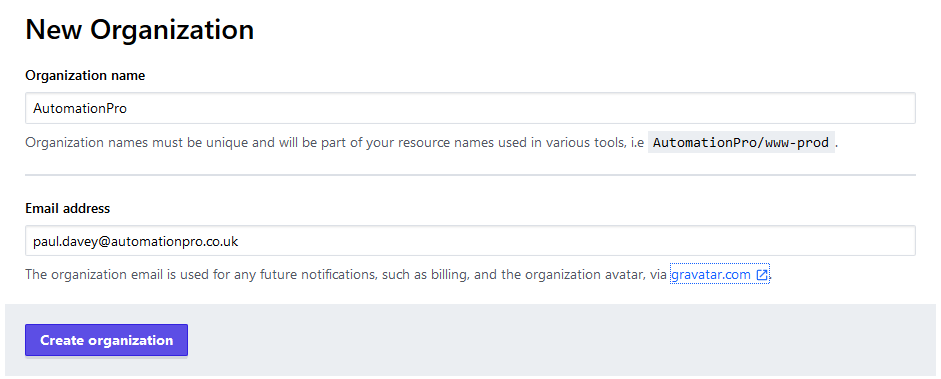
Specify organisation details
We have now successfully registered our organisation on the Terraform Cloud platform.
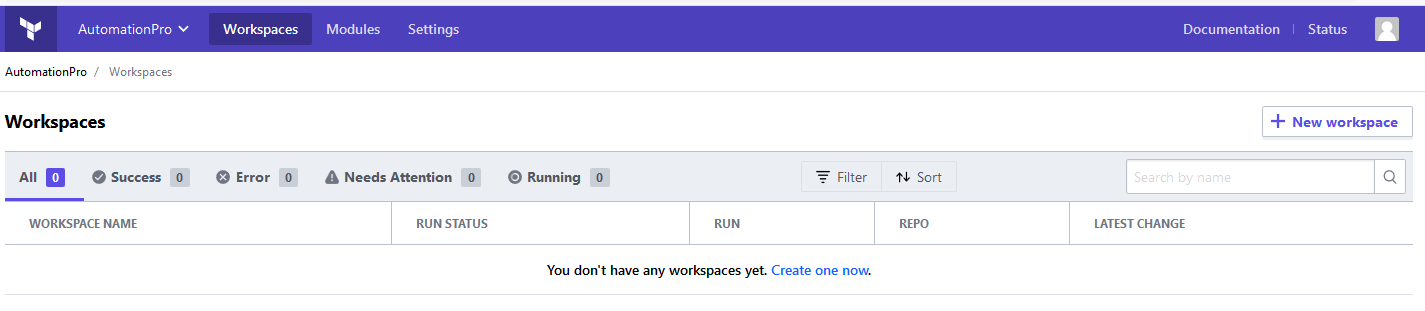
Terraform Cloud registration complete
Generate An Access Token
While logged in to the Terraform Cloud portal, click the user icon at the top right and select User Settings from the dropdown menu.
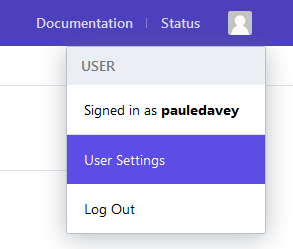
Navigate to User Settings
Select the Tokens option from the menu on the left. In the Description text box enter a description for the token. I entered terraform_access_token. Click Generate token. A token will be generated for you and displayed. You must take a copy of this and store it carefully. If you lose it you will have to delete it and generate a new one.
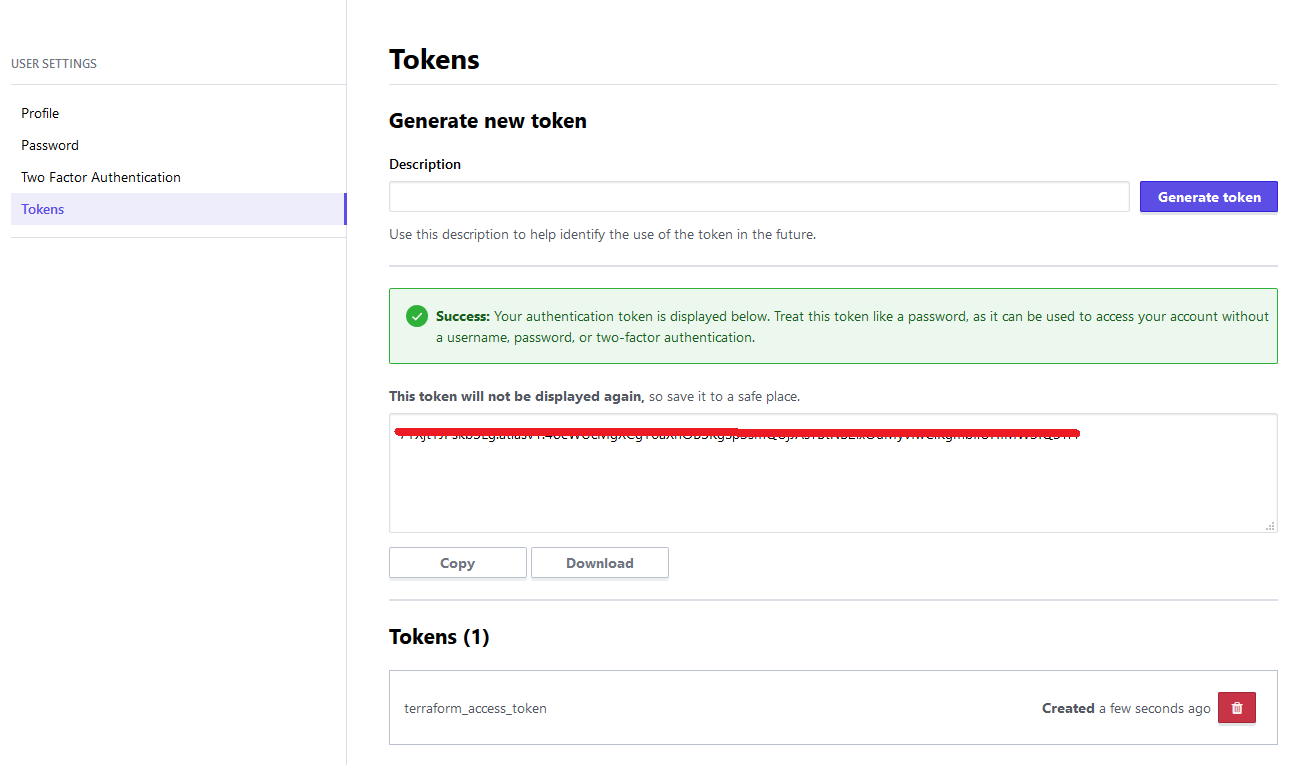
Generate the token
Create Terraform.rc
On our development system where we have terraform located we need to create a file called terraform.rc that will contain our generated token. I prefer to keep this file in a folder called cli_config and locate it with my other Terraform files. Create a folder called cli_config and a blank text file inside called terraform.rc as show below.
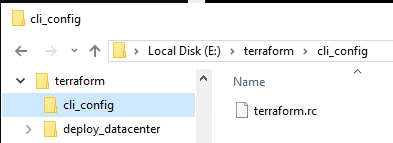
The cli_config folder and terraform.rc file
To make sure that Terraform reads our configuration file, we need to tell Terraform where to locate it. Add a new environment variable as follows
| Variable | Value |
|---|---|
| TF_CLI_CONFIG_FILE | E:\Programs\Terraform\cli_config\terraform.rc |
Remember, you will need to close and reopen any command prompt windows for the new variable to take affect. Open the terraform.rc file in a text editor (such as Visual Studio Code) and enter the following into the file. You will need to insert the token you generated earlier in the Terraform Cloud portal. Note: make sure that the token is wrapped in double quotes. Save the file and close the editor.

Enter the content for the terraform.rc file
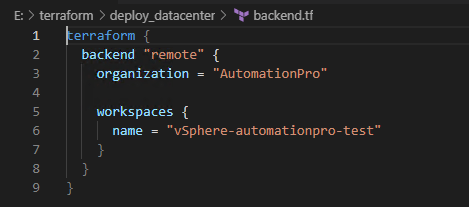
Navigate into the folder where your Terraform definition is. In my case it is the deploy_datacenter folder created in my previous blog post series. Create a text file called backend.tf and open it in your text editor.
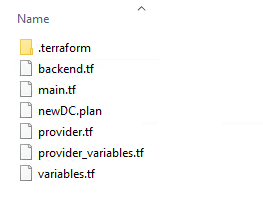
Create backend.tf
This file will tell Terraform where to store the state, using the credential token we supplied in the terraform.rc file. We will enter the following details into the file.
Enter content into the backend.tf file
An explanation of each of the details is below. You will need to substitute my organization and name values, for your own.
| entry | value | explanation |
|---|---|---|
| backend | remote | This tells Terraform that the backend to use is remote |
| organization | AutomationPro | This is the name of the organization you registered in the Terraform Cloud portal |
| name | vSphere-automationpro-test | This is the name of the workspace that we want to create on the Terraform Cloud. This workspace is where out state will be stored |
Once you have entered the relevant information into the backend.tf file, save the file and close the text editor.
Initialise
From within your folder, execute terraform init. This will allow Terraform to read through the backend.tf file and terraform.rc file. Terraform will connect to Terraform Cloud and under your organisation create a workspace. If all goes well, you should see some success information in the console. In the Terraform Portal, you will also see the newly created workspace.
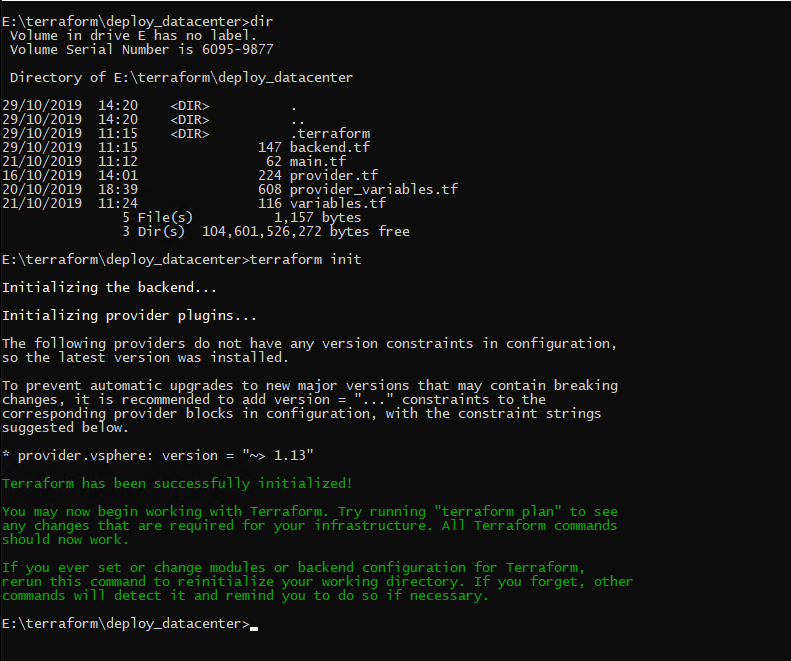
Terraform needs to initialize to configure the remote backend
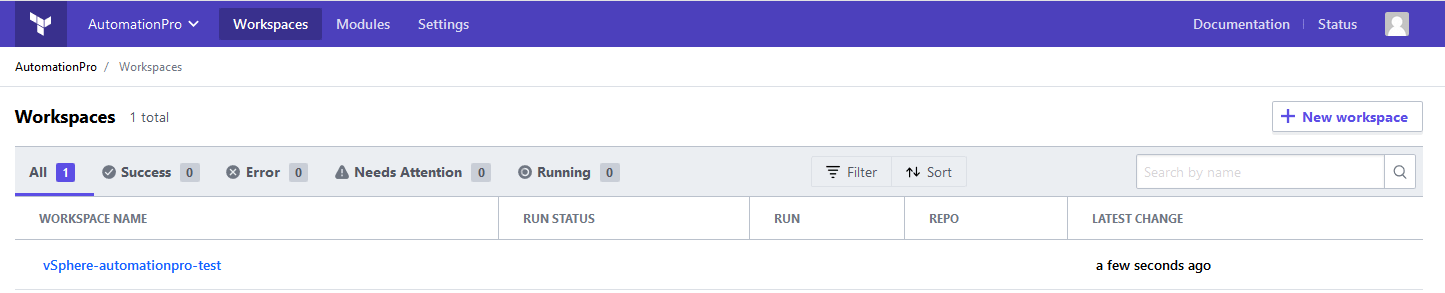
The worksapce has been created in our Terraform Cloud organization
In the Terraform Cloud portal, click on the workspace name hyperlink. Select Settings and then click General.
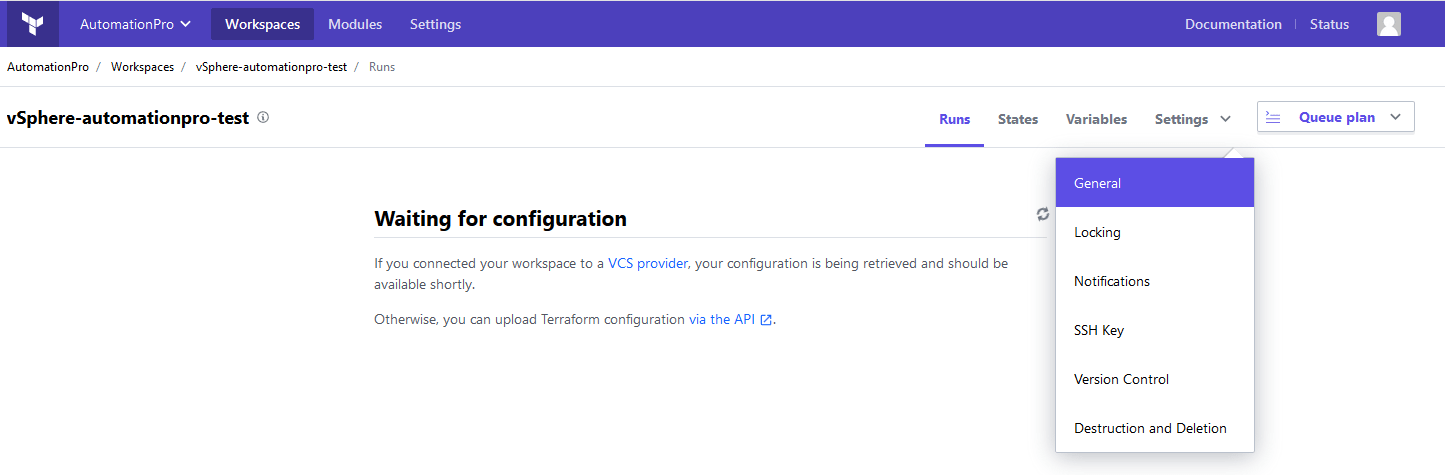
Select Settings and then General
Under Execution Mode, select the Local radio button. Click the Save settings button.
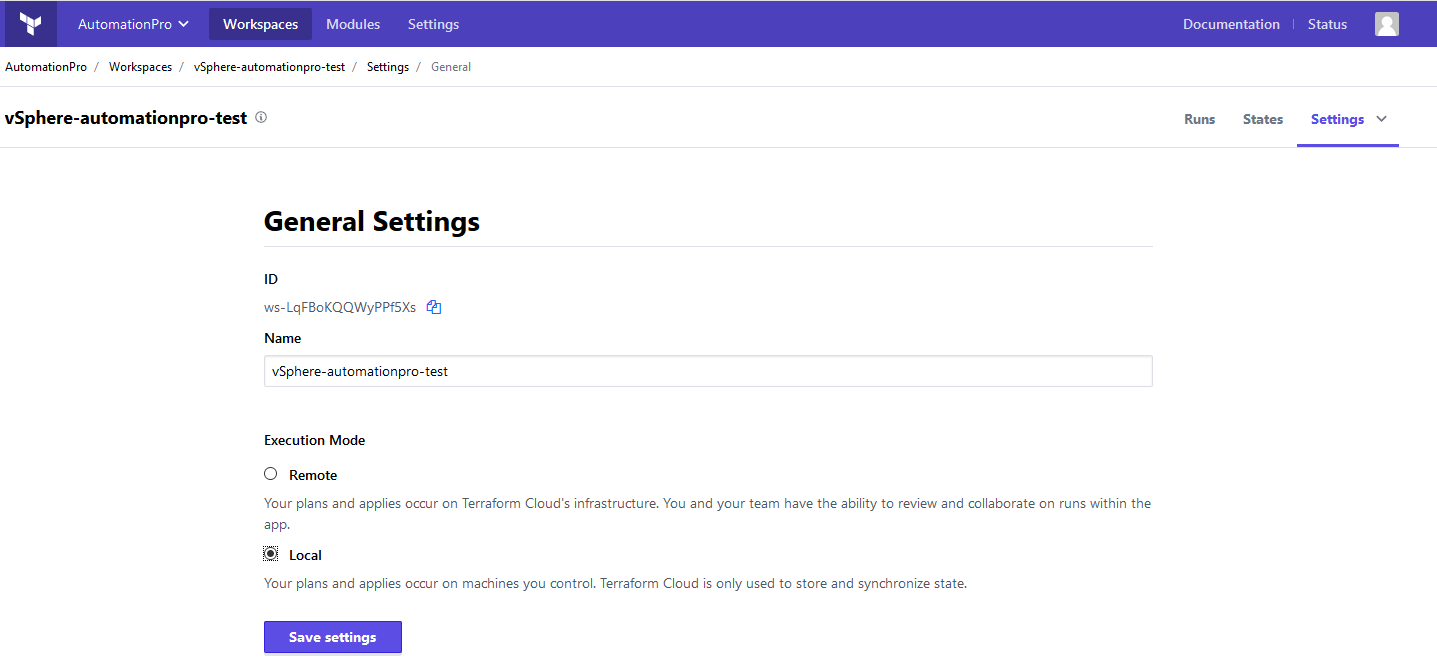
Set Execution Mode to local
Execution
We are now in a position to execute our Terraform definition. I will run a plan first to make sure everything is ok. I will then apply the plan.
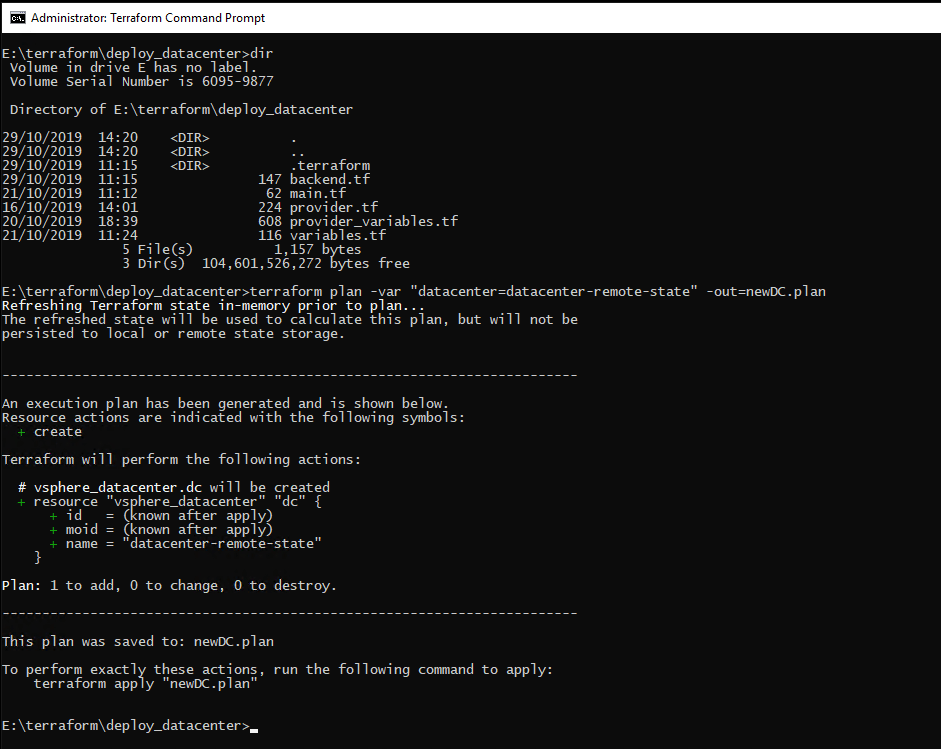
Plan our execution
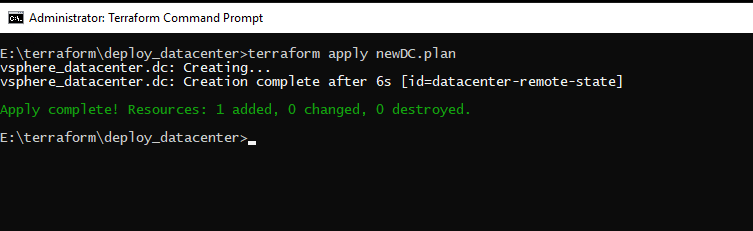
Apply the plan
Once complete, you will see the new datacenter in your vSphere environment (assuming you are using the information from my previous blog post series). If you look in Terraform Cloud in your workspace you will find that we now have a stored state from the execution. Future changes in state will now be record as a new entry here.
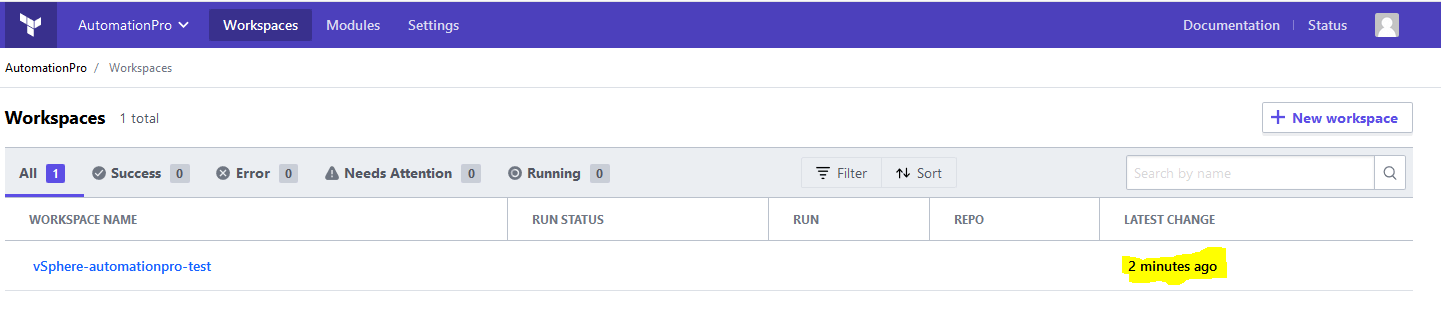
Our workspace on Terraform Cloud has been updated
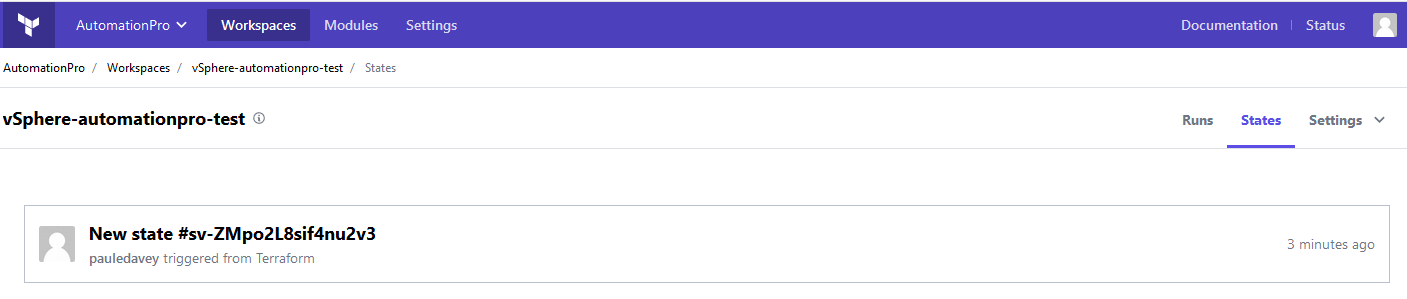
Under our workspace, under State we can see we now have a saved state record
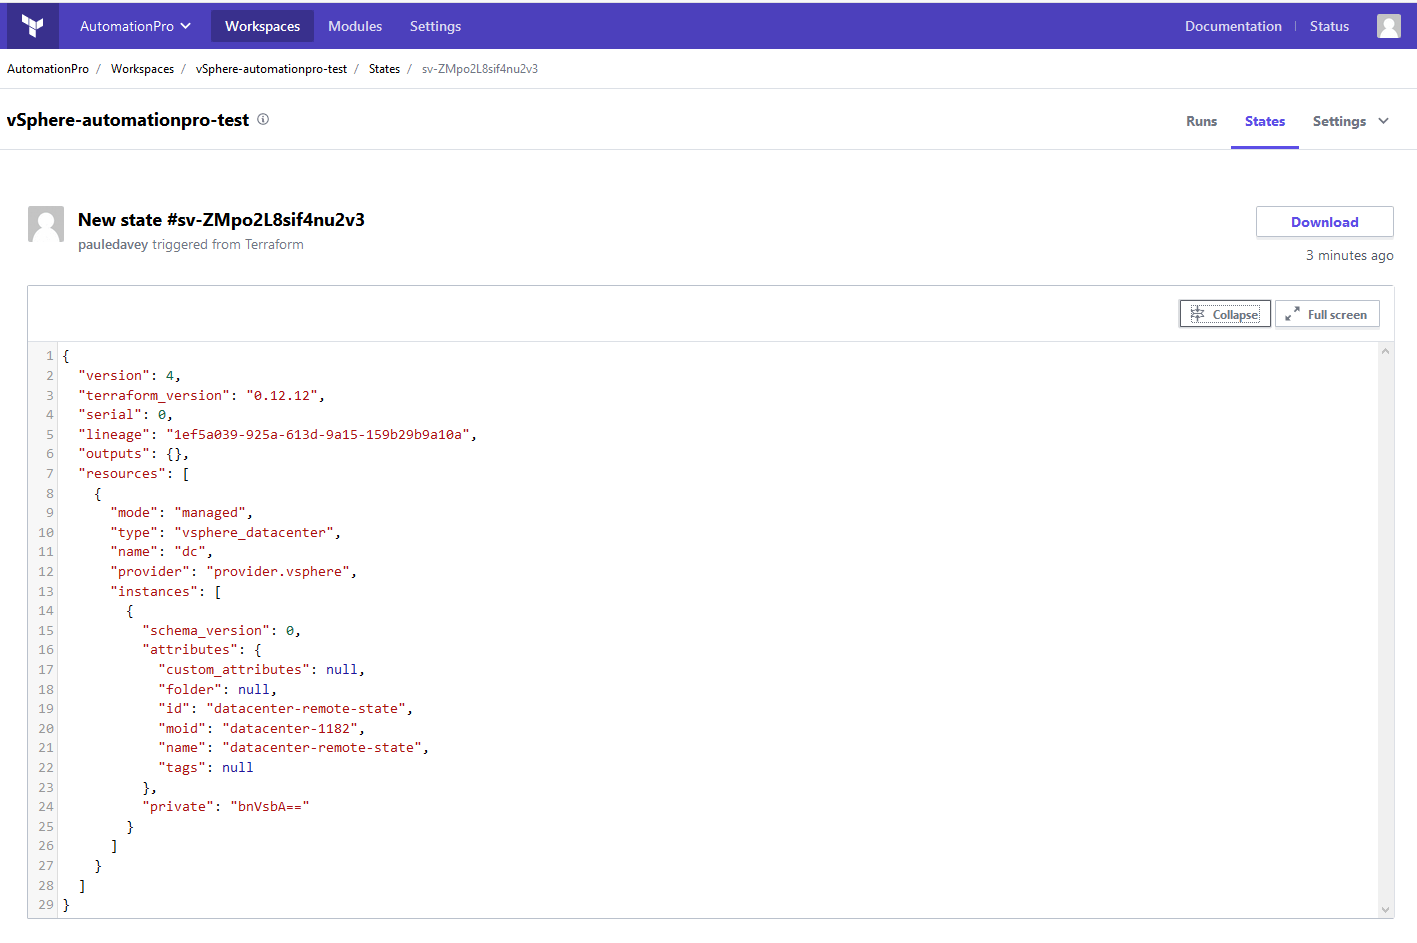
You can view the state contents by clicking the state entry